1 Pack of Vanilla Cake mix/ White Cake mix
1 can Evaporated Milk
2 tbsp Plain Yogurt
1/2 cup oil
Berry Coulis
1 cup strawberries
1/2 cup blueberries
1/2 cup blackberries
3/4 cup sugar (more or less according to taste)
1/2 cup water
1 tbsp fresh lemon Juice
Vanilla Whipped Icing:
2 cups heavy cream
~1 cup powdered sugar (more if you want a sweeter icing)
1 tbsp Vanilla or Few drops of Vanilla Extract
Decorations/Toppings: White chocolate bar and Berry flavored sugar crystals
For the Cake:
- Mix all the cake ingredients in a stand mixer till the batter is without lumps.
- I usually spread the batter out in 3 different pans to save cutting the cake after its baked.. This also yields perfect, even layers.
- I used a wide 15 in x 9 inched. It was a wide, rectangular pan and I spread the batter on it. The batter was about 1-2 inches thick.
- You can also use 4 baking pans of the same size and spread about 1-2 inches on batter on these pans (Don’t forget to line the pans with a baking sheet, coat with oil and sprinkle some flour on top before pouring the batter).
- Bake on 350 for ~10 minutes. The cake should be ready in 10-15 minutes since the layers are not too thick. Make sure you keep an eye on the cake!
- Once the cakes are out, rest for 5 minutes, remove your cakes and let them cool on the cooling rack.
Berry Coulis Filling:
- Mix the berries, sugar and water in a non stick pan.
- Simmer the mixture on medium heat for till the jam starts thickening.
- Mash the berries with a masher or the back of your spoon and simmer for a few more minutes.
- Stir the coulis and once you see it leaving the pan edges, add 1 tbsp of fresh lemon juice and turn of the stove.
- Let it cool.
Whipped Vanilla Icing:
- In a stand mixer, add chilled Heavy whipping cream, Powdered sugar, Vanilla extract.
- Start whipping the icing in the stand mixer or with a hand blender until stiff peaks form. (this will take about 1-2 minutes)
- Store in the refrigerator until further use.
Assembly:
- Cut up the layers of the cake if you used a wide pan, like I did, in equal sizes.
- Spray the layers with a sugar water mixture (1/2 cup water+ 1 spoon sugar) -OPTIONAL but this makes the cake layers very soft and spongy!
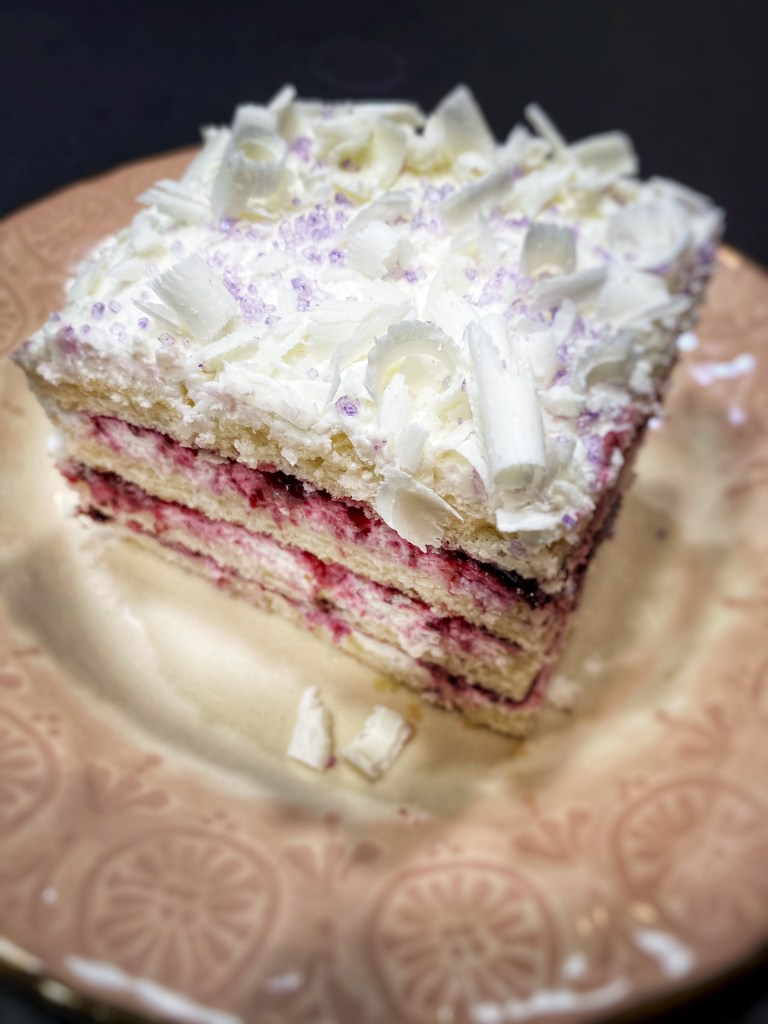
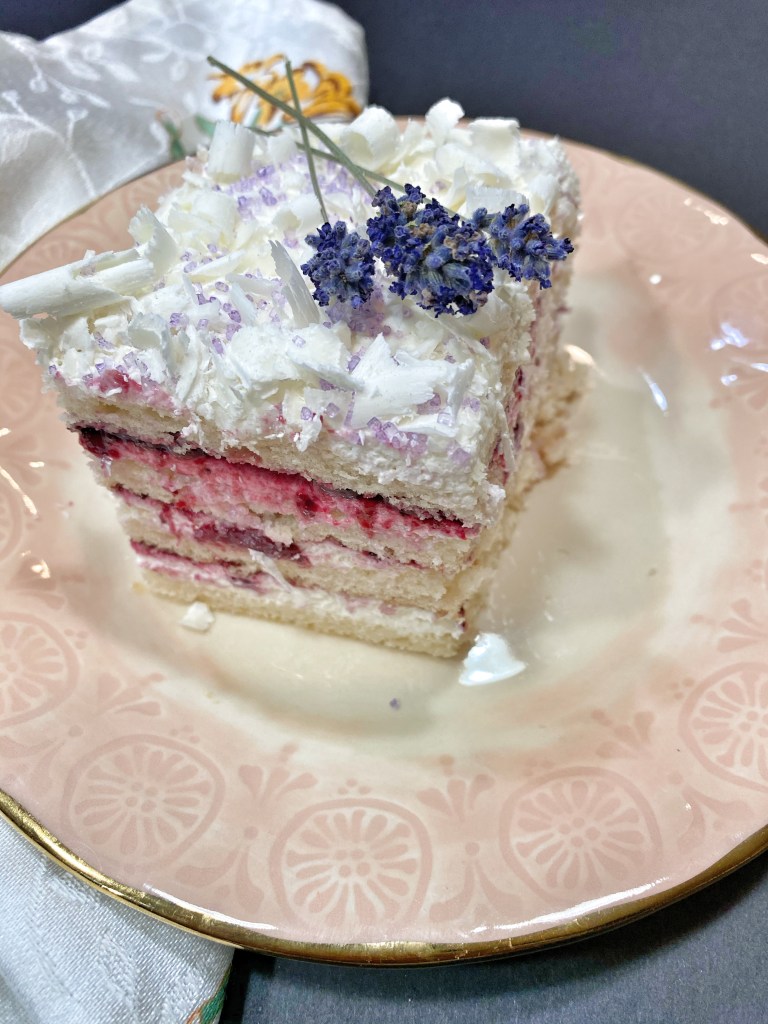
- Here is how you layer the cake= Cake layer+ Vanilla icing+ Berry Coulis+ another cake layer and so on.
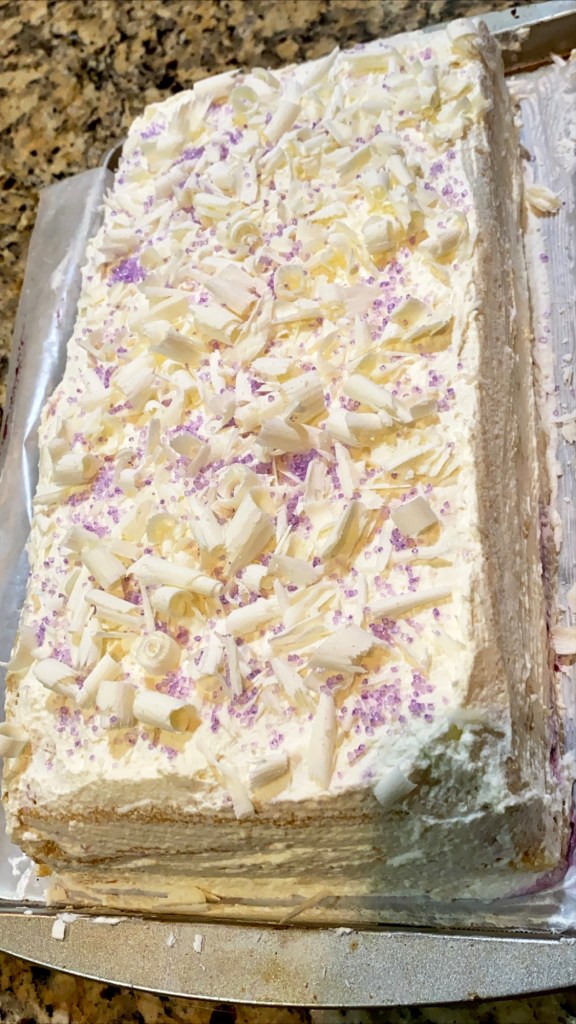
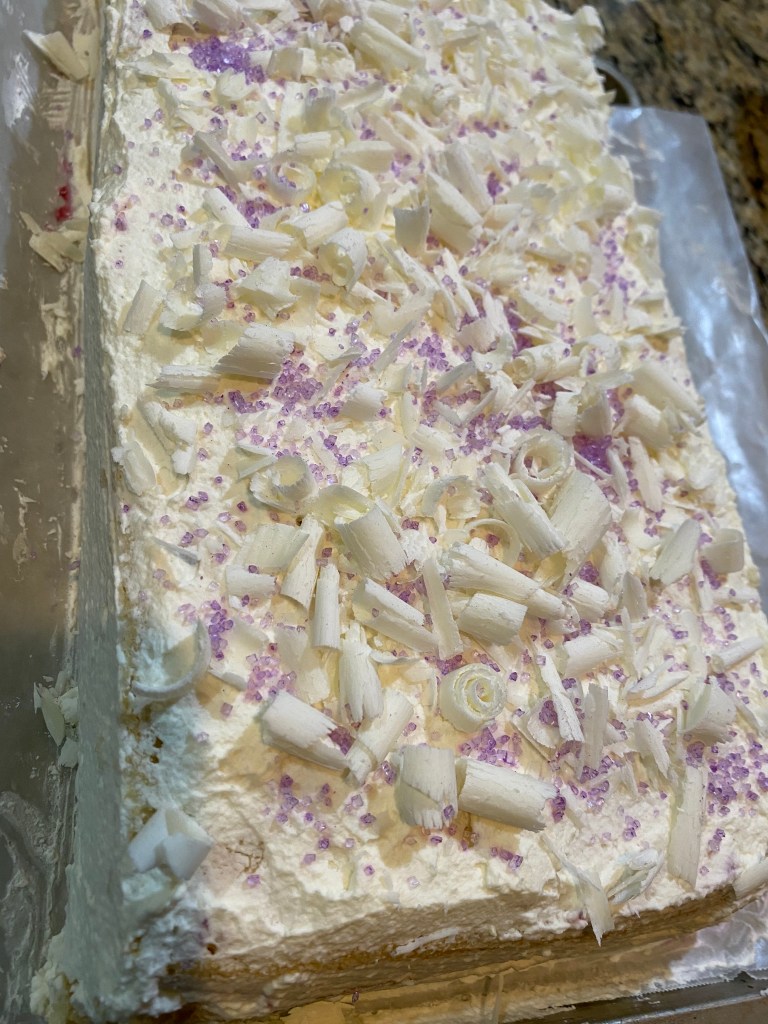
- Once you ice the entire cake, use a vegetable peeler to peel the white chocolate bar on top of the cake to get some beautiful white chocolate shreds/ ribbons.
- Sprinkle with some flavored sugar crystals and enjoy!
Latest Posts
Follow Me
Get new content delivered directly to your inbox.
